If a file containing time clock punches (or any pieces for Piecework Pay) has already been uploaded, you can select which of the punches you want to import into the ExponentHR Time Clock for review and approval.
To post the punches to the ExponentHR Time Clock:
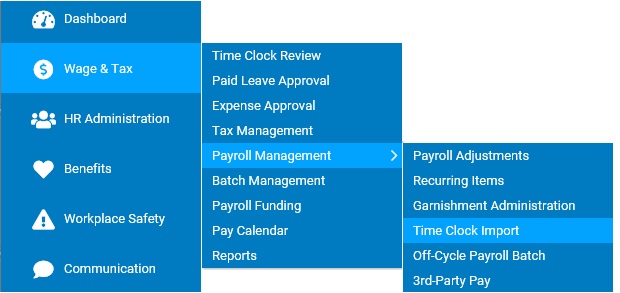
1. On the Management Navigation Menu, click WAGE & TAX > Payroll Management > Time Clock ImportWAGE & TAX > Payroll Management > Time Clock Import.
The Time Clock ImportTime Clock Import page displays, with a list of any files that have been recently uploaded.
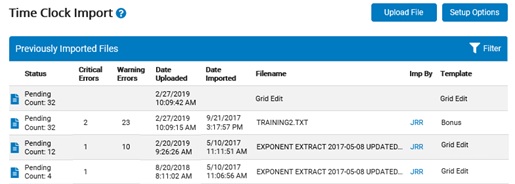
2. Click the View
(![]() ) icon next to the import file with the
time punches you want to import.
) icon next to the import file with the
time punches you want to import.
The Time Clock Import ReviewTime Clock Import Review page opens, showing any errors or warningserrors or warnings affecting the outcome of the imported time clock punches.
Section |
Shows |
General Errors |
Any critical errors related to the import file that are not correctable (for example, a column from the import file will not be imported because it was not included in the import template setup) |
Critical Errors |
Time punches containing an error that prevents them from being imported into the time clock |
Ignored Punches |
Time punches with identical information previously imported into the time clock, so they will be ignored |
Warnings & Successful Punches |
Time punches that will be imported into the time clock, some of which could be flagged to alert managers to review questionable information that may impact pay (such as an overlapping punch or invalid shift code) |

3. If you want to display only certain punches, select the filter from the Filter By drop-down list and then click the Apply Filter button.
Note: Some filters, such as Error, display a second drop-down box from which you select the specific type or code.
4. If you take steps to clear certain errors (such as processing a New Hire EAN for a missing employee), click the Revalidate button to check potential errors in the import again.
Note: This rechecks all punches against what is in the Time Clock and the employee records. It does not revalidate cost allocation information (such as job code or location) or any changes to the import template.
5. If the file contains so many errors that you need to re-import a new one, click the Delete All button to delete the file that is in Pending status.
6. To print a report based on the data in the uploaded file, click the Print button.
Report |
Shows All Uploaded Time Clock Punches |
All Punches |
With or without errors |
All Errors |
With critical errors or warnings and all ignored punches |
Critical Errors |
With critical errors only |
Warnings |
With warnings only |
Ignored Punches |
That will be ignored in the time clock import |
Punches without Errors |
Without critical errors or warnings and no ignored punches |
A separate window opens with the results you want to print.
7. Select the Import check box next to all of the time punches you want to import, and then click the Import Punches button.
Result: The Time Clock Import Review page shows which punches were imported into Time Clock.
Note: To remove all imported punches from the Time Clock (if they are not in the closed period or were not already modified or deleted in Time Clock), click the Remove Imported Punches button on the Review page.