
Life Events allow you to make changes to your personal information and changes to your benefits information outside of the standard enrollment period. After selecting a life event, a Wizard will step you through the process necessary to complete the benefits change request. If you need to leave the process prior to completion, use the Exit button to save your changes and resume later.
Note: If the Life Event change request stays in Pending (unsubmitted) status for more than 14 days or is approaching the timed expiration date, you will receive a Message Center notification reminding you to submit it.
To create a Life Event:
1. On the Menu, click Benefits > Report a Life EventBenefits > Report a Life Event.
The Life EventsLife Events page displays.

Notes:
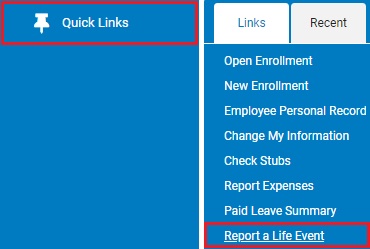
You can also access the Life Events page from the Menu by clicking Quick Links > Report a Life EventQuick Links > Report a Life Event.
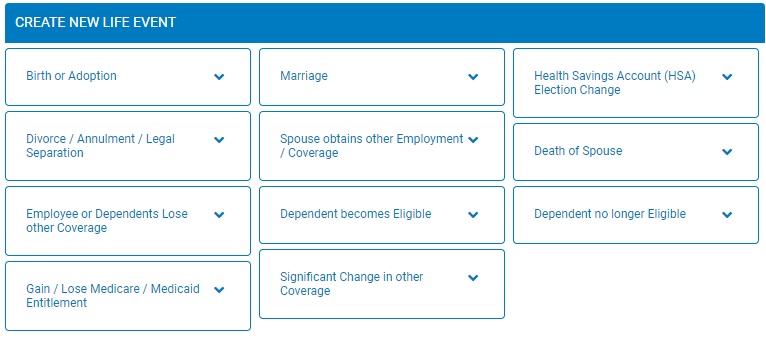
Click the ExpandExpand button next to each Life Event to expand the text box and see an explanation for the selected Life Event.

2. In the Create New Life EventCreate New Life Event table, choose the Life Event you wish to create and click the link (life event title) to report the life event.
The Life Event WizardLife Event Wizard displays.
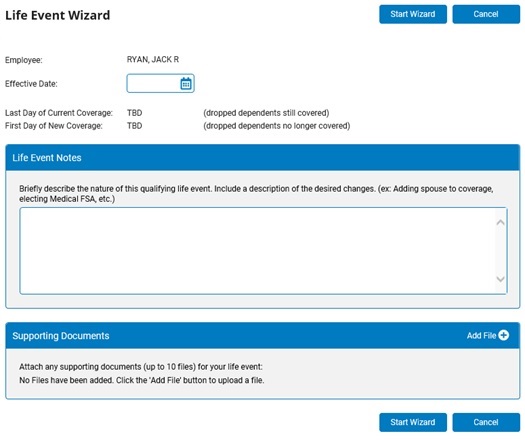
3. Complete the pages of the Life Event Wizard, as necessary.
Note: To view specific help for each type of Life Event, click the HelpHelp button after opening the Life Event Wizard.

4. If all changes are accurate, click the SubmitSubmit button to forward your Life Event to the benefits administrator for approval.

Notes:
Changes will not occur until your Life Event is approved by the benefits administrator and the designated effective date is reached. Once approved, all changes will be reflected in your records on the approval date, or effective date, whichever is later.
Evidence of your qualifying Life Event may be attached in the Supporting Documents section so that it may be reviewed by an benefits administrator.