You cannot create a whole new Event-Driven Notification from scratch, but you can copy an existing default notification and use it as the basis for setting up a new one. The status and the recipients, however, are not copied; you must make those selections.
Note: Only notifications with a non-automated recipient list can have an alternate distribution list than the original notification that is being copied. All other notification types are automated to be delivered to the appropriate individual(s) per management level and access rights.
The IT Department needs to be reminded what to include in a standard desktop load for new employees. Add the department to the list of recipients who are already set up to receive notice of any new hires and include a note specifically for the technicians listing all software to load.
To copy an Event-Driven Notification:
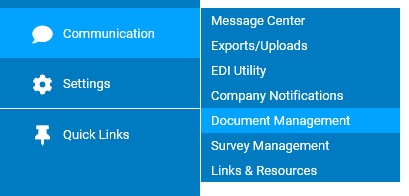
1. On the Management Navigation Menu, click Communication > Company NotificationsCommunication > Company Notifications
The Company NotificationsCompany Notifications page displays.
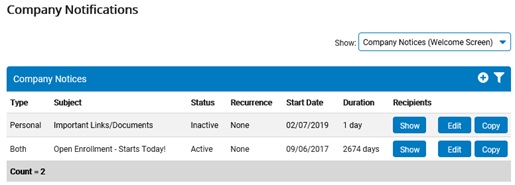
2. Select Event-Driven Notifications in the Show drop-down box.
The Event-Driven NotificationsEvent-Driven Notifications section displays, with a list of all Event-Driven Notifications that have been set up.
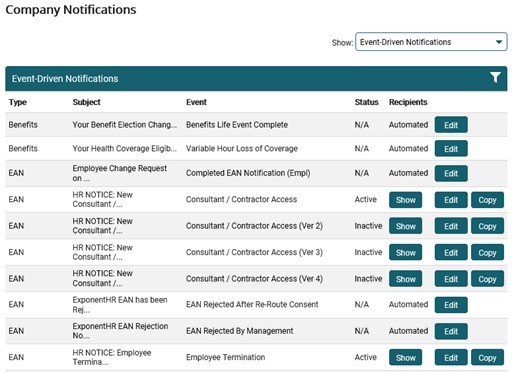
3 Click the Copy button in the row of the Event-Driven Notification you want to copy.
The Event-Driven NotificationEvent-Driven Notification page displays.

4. Type over the text in the Subject box, if necessary.
5. Type a unique description for the notification in the Message Identifier box, to distinguish it from the original.
6. If it is for an EAN event, select the recipients you would like to receive the Event-Driven Notification.
Selecting RecipientsSelecting Recipients
1. Click the Recipients button.
The Notification RecipientsNotification Recipients window displays.
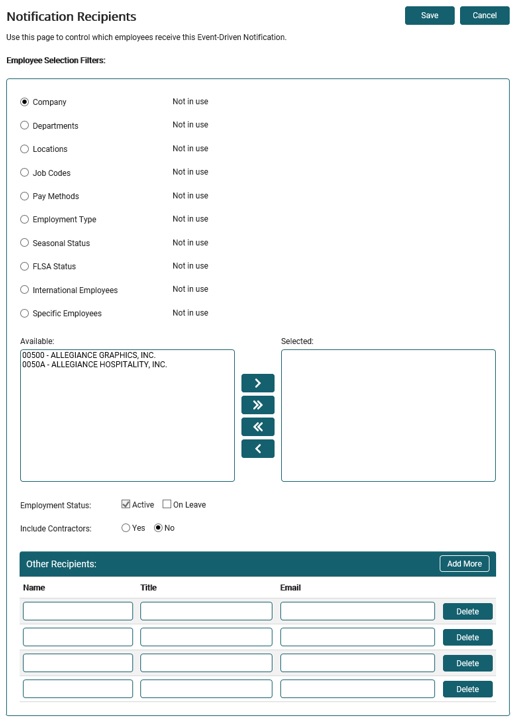
2. Select the radio buttons for which categories to include in the list of available employee selection filters.
Note: The types of available criteria vary from company to company, but common types are department, location, and so on.
3. Click the filters you want in the Available list and click the --> button to move them to the Selected list.
Notes:
Select the check box to include on-leave employees in the Available list.
The filters work in conjunction with each other. Select more than one category at a time to further restrict the audience.
4. Type the name, title, and email address of any other people you want to receive the notification in the Other Recipients section.
5. Click the Save button.
7. Make any necessary changes to the template text.
Inserting KeywordsInserting Keywords
1. With the cursor positioned where you want the keyword to appear in the message, click the Keyword button. (See help topic below for detailed explanation and full glossary of keywords)
The Insert KeywordInsert Keyword window displays.
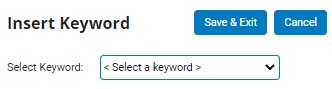
2. Click the keyword you want to use in the Select Keyword drop-down box.
3. Click the Save & Exit button.
Inserting a LinkInserting a Link
Click the Link button, and then click the menu option for the type of link you want to use.
Option |
Additional Step(s) |
External Website |
1. If you do not want to use the actual Web site address for the link text, type a description in the Link Description box. 2. Type (or copy/paste) the URL in the Website Address box. 3. Click the Insert Link button. |
Personal Site Page |
In the site map for the ExponentHR Personal View, click the page for the link. |
Personal Site Document |
1. Type a word or phrase to search for related documents visible in the Personal View of ExponentHR, and then click the Search button. You can also select search options for searching the text and doing multiple word searches. 2. Next to the title and description of the document you want, click Add Link. |
Management Site Page |
In the site map for the ExponentHR Management View, click the page for the link. |
Management Site Document |
1. Type a word or phrase to search for related documents visible in the Management View of ExponentHR, and then click the Search button. You can also select search options for searching the text and doing multiple word searches. 2. Next to the title and description of the document you want, click Add Link. |
8. Click the Activate button next to Status, if necessary.
9. Click the Save & Exit button.
Result: The new notification is sent the next time the event occurs.
Related Help Topics: