
If an employee's spouse dies, he/she will be removed from the employee's coverage. If the employee or the employee's eligible dependents were previously covered under the spouse's coverage, you may (on the employee's behalf) enroll the employee and his/her dependents in the coverage offered through your organization's benefit plans.
A Wizard will step you through the process necessary to complete the benefits change request. If you need to leave the process prior to completion, use the ExitExit button to save your changes and resume later.
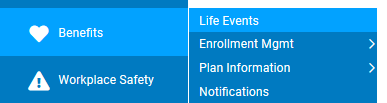
1. On the Management Navigation Menu, click Benefits > Life EventsBenefits > Life Events.
The Life EventsLife Events page displays.
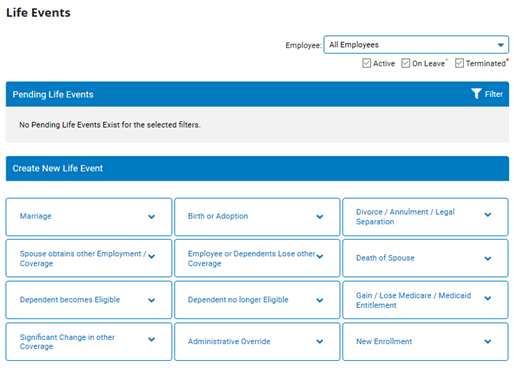
2. Select the employee for whom you would like to report an eligibility change event for from the EmployeeEmployee drop-down box.

3. In the Create New Life Event section, select Death of Spouse Life Event type.
The Life Event WizardLife Event Wizard displays.
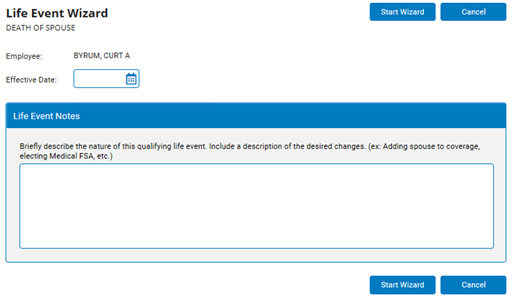
4. Enter a date (in the format mm/dd/yyyy) in the Effective DateEffective Date text box.

Note: Use the date of death as the effective date for this Life Event. You must submit this Life Event no later than 31 days after the effective date.
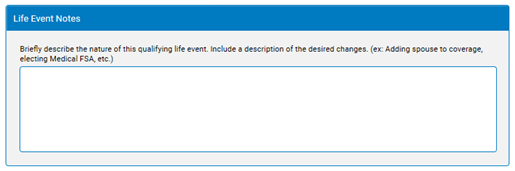
5. Enter any relevant notes in the Life Event NotesLife Event Notes text box.
6. If there are any files you would like to attach to assist with the validation of the life event, they may be added in the Supporting DocumentsSupporting Documents section.

7. Click the Start WizardStart Wizard button.

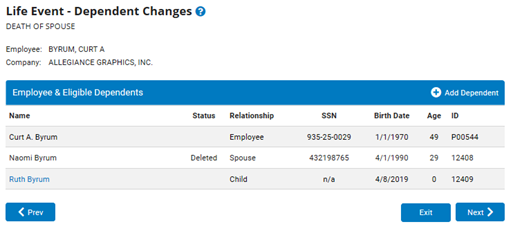
The Life Event - Dependent ChangesLife Event - Dependent Changes page displays.
Note:
When you report the death of an employee's spouse, the spouse is automatically unenrolled from all plans and removed as a dependent.
If dependents were covered under the spouse's benefits, you may add those dependents to the employee's coverage. If these dependent(s) are already listed, you may enroll them in benefits in a subsequent step within the Life Event Wizard.
8. If you need to add any dependents to the employee's coverage that are not listed below, use the Add DependentAdd Dependent button to create the new dependent record(s).

9. After completing all dependent changes, click the NextNext button.

The Life Event Wizard (Information) page displays.
10. Click the NextNext button.
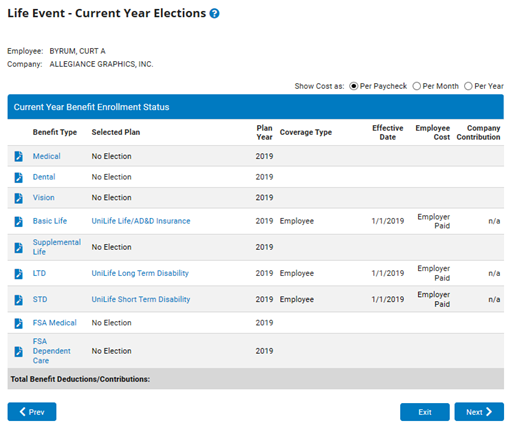
The Life Event Wizard - Current Year ElectionsLife Event Wizard - Current Year Elections page displays.
Notes:
In the steps that follow, the system will display a summary view of your current year elections.
Some current elections cannot be modified during this mid-year change. These options will either be disabled in the enrollment screens, or indicated through pop-up notices as adjustments are entered.
11. To make the appropriate changes to the employee's current year coverage, click the EditEdit icon corresponding to the relevant plan.
![]()
Note: Be sure to include all desired changes for this Life Event before continuing on to the next step. This would include enrolling new dependents into a particular plan, changing plans, or waiving coverage previously selected.
12. After completing all Current Year elections, click the NextNext button.
The Life Event Wizard (Information) page displays.
13. Click the NextNext button.
The Life Event Enrollment ValidationLife Event Enrollment Validation page displays.
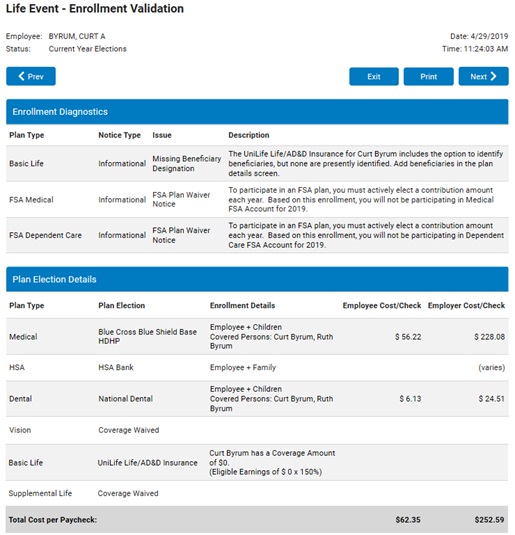
Note: The Validation process will verify that all modified elections meet certain enrollment rules according to your plan rules. If critical errors are encountered, they will be indicated in the subsequent report and must be corrected prior to submitting the Life Event.
14. Carefully review all information on this report.
15. If you need to adjust any information, click the PreviousPrevious button and return to the Benefit Enrollment screen.

16. If you are satisfied with these elections, click the PrintPrint button to obtain a printed copy of this report.

17. Click the NextNext button.
The Life Event Wizard (Information) page displays.
18. Click the NextNext button.
The LLife Event Summaryife Event Summary page displays all changes to the employee's benefits as a result of the death of the employee's spouse.
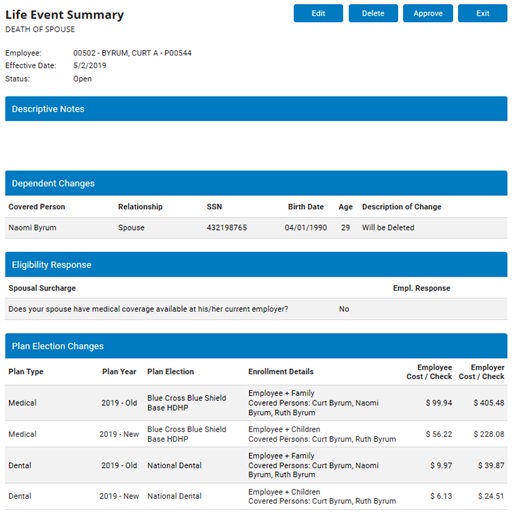
To edit or view detailed Life Event elections, click the EditEdit button.

To permanently cancel changes prior to execution, click the DeleteDelete button.

19. If all changes are accurate, click the ApproveApprove button.

Result: The Life Event is submitted to the benefits administrator for approval.
Notes:
Although you may exit the life event wizard at any time by clicking the ExitExit button, exiting the life event does not delete it. The life event will remain in the system until you complete it or delete it.
Changes will not occur until the Life Event is approved by the benefits administrator and the designated effective date is reached. Once approved, all changes will be reflected in the employee's records on the effective date.
You may need to forward evidence of the qualifying life event to a member of the Human Resources staff. Contact your benefits administrator for more details.