You may access many reports through ExponentHR, including:
Benefits Reports
Equal Opportunity Employment Reports
HR Administration Reports
Workplace Safety Reports
Payroll Reports
GL/Tax Reports
Miscellaneous Reports
This page provides general instructions on generating an ExponentHR report. You may view the help page devoted to each specific report for more information.
To run any report:
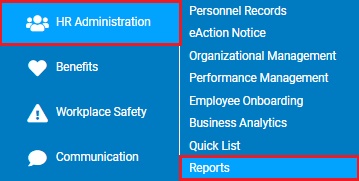
1. On the Menu, access the section of ExponentHR in which you want to view reportsaccess the section of ExponentHR in which you want to view reports.
A report typesreport types page will display listing all reports in the section of ExponentHR you selected.
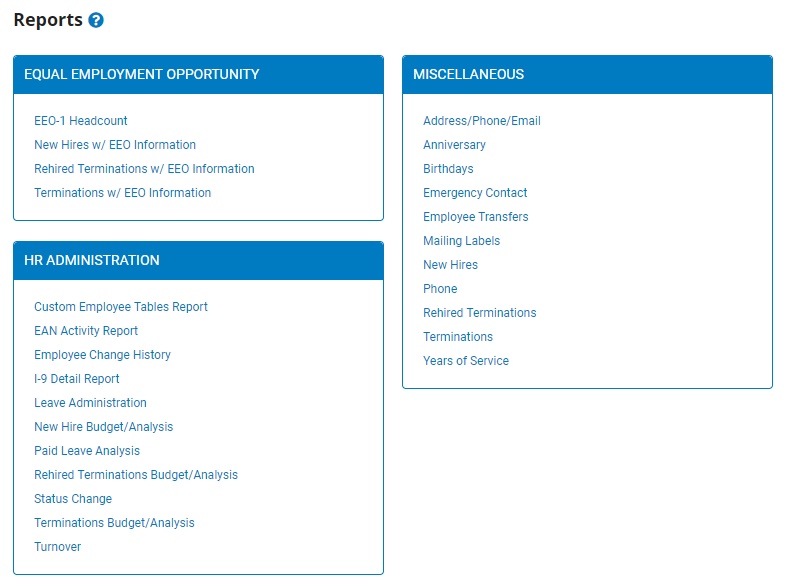
2. Click the name of the report you would like to view.
The report generation page displays.
3. Complete report details as necessary. In addition to completing report specific fields, this may include:
Entering a Date RangeEntering a Date Range
Enter the start and stop dates for the date range in which you would like to view new hires in the Date RangeDate Range fields.

Note: You may also click the CalendarCalendar button to select the dates from a calendar.

Selecting an EmployeeSelecting an Employee
If necessary, select a specific employee from the EmployeeEmployee drop-down box to view a report for that employee only.

Note: Leave the field set to All Employees to view a report including all employees at your company.
Configuring Group and Subgroup OptionsConfiguring Group and Subgroup Options
If necessary, use the Group By optionsGroup By options to provide organized groupings and subtotals of the results. Selecting the Subtotal this Group option will provide you a total of the report's values for the respective group.
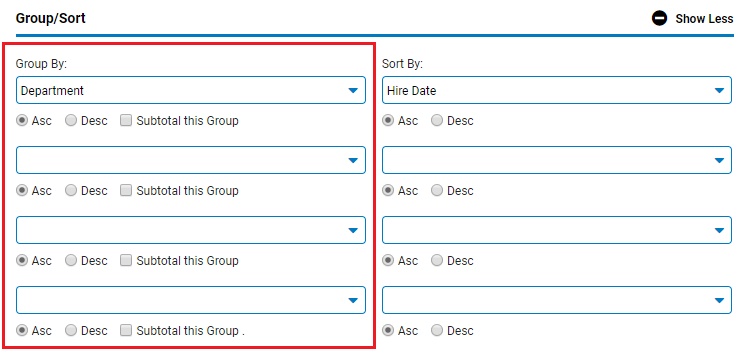
Note: Click the Show MoreShow More button to expand the section.

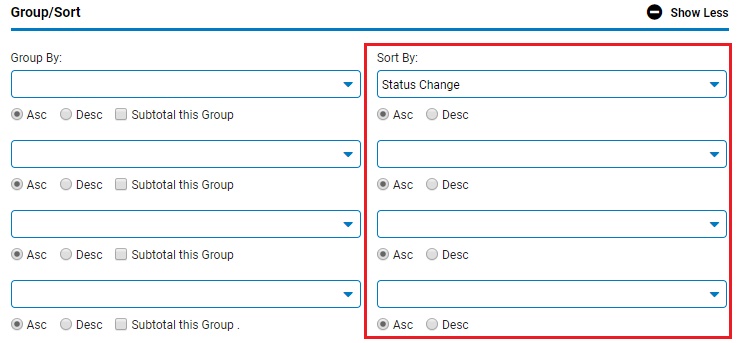
Configuring Sort By OptionsConfiguring Sort By Options
If necessary, configure the Sort By optionsSort By options to control the presentation of the detailed data within the designated groupings.
Configuring Filter By OptionsConfiguring Filter By Options
If necessary, configure the Filter By optionsFilter By options to control and restrict the generated results to a limited data set. Use the drop-down list to define what field will be filtered on and click the EditEdit button to select the specific filter values (e.g. if you group by Department, select the Sales option in the filter to obtain results only for the Sales Department).
![]()

Note: Click the Show MoreShow More button to expand the section.
Designating Optional Fields to Be IncludedDesignating Optional Fields to Be Included
If necessary, select the check box by each optional field you would like included in the report in the Optional FieldsOptional Fields area.

Note: If you check the Department, Location, or Job Title check boxes, you can also check the Code checkbox to the right of each checkbox to include the code for each department, location, or job title in the report.
Selecting Report Display OptionsSelecting Report Display Options
If necessary, select additional display options for the report from the report displayreport display check boxes.
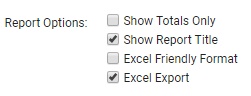
Notes:
Checking the Show Totals Only check box will only provide applicable subtotal and total results within each designated grouping in the report, without the supporting data.
Checking the Show Report Title check box will include the report's title in the report.
Checking the Excel Friendly Format check box formats report results to allow for a "cut and paste" transfer to an Excel form. This option will suppress Groups and Subtotals unless the Show Totals Only checkbox is also selected.
Checking the Excel Format check box will export the report directly as an Excel file.
Note: You may also generate a report using a pre-existing template. See Related Help Topics for more information.
4. Click the Generate ReportGenerate Report button.
![]()
Result: The report you selected displays in a new window with the options you selected.
Notes:
You may print the report by clicking the PrintPrint button.

You may close the report by clicking the CloseClose button.

Related Help Topics:
Generating a Report Using a Template