
When you punch in and out, all hours you work automatically receive a default home allocation that is assigned by the system. In some cases, you may need to change the default allocation or split the hours between your default and another allocation. This would be necessary if you were splitting time between different locations or receiving premium pay for special activities you performed, for example.
|
You are a nurse and receive additional compensation for when you are the charge nurse on duty during your shift. When you punch out, change your default allocation to reflect the amount of time you were the charge nurse. Your regular pay rate is automatically adjusted based on the rate stored for this activity. |
Notes:
You can allocate time worked only if Cost Allocation or Time and Billing is active for your company and you are allowed to edit the allocation of your hours.
You can change the setup of your default allocation only if Time and Billing is active for your company. See the Related Help Topics at the bottom of this page for more information.
If you change or add allocations often, you can set up the Time Clock to automatically prompt you to allocate your hours when you clock out. To do this, click the Options button, and then click the Allocate on Clock Out option.
To allocate time worked:
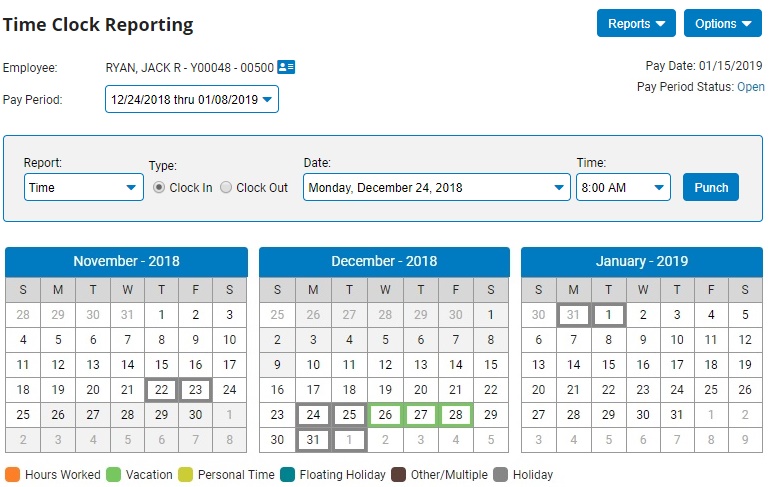
1. On the Menu, click Time and Pay > Report TimeTime and Pay > Report Time.
The Time Clock ReportingTime Clock Reporting page displays.
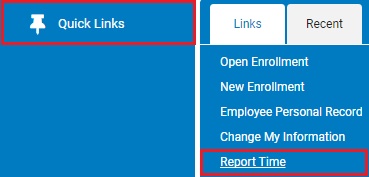
Note: You can also conveniently access the Time Clock Reporting page from the Menu by clicking Quick Links > Report TimeQuick Links > Report Time (use the Edit/Re-order option to choose which links you would like be made available in this list).
2. Report your time worked by clocking in/out. See the Related Help Topics at the bottom of this page for more information.
Result: The Time Punch EditTime Punch Edit page displays.

Note: If the Time Punch Edit page does not already display, click the EditEdit icon in the row of the reported hours you want to allocate.
![]()
3. To view the allocations that will be applied by default to your reported time, click the View DefaultView Default icon.
![]()
A new Default Allocation SettingsDefault Allocation Settings window is opened displaying the default allocations at the current moment.

Note: Assuming that there is no change to your default allocation setup prior to the submission of the applicable pay period, the allocation percentages displayed in the pop-up will be the same allocations applied during payroll process.
4. Click the Add AllocationAdd Allocation button to add an additional row in the Allocation Details section that can be used to further split the allocation of time being reported.

5. To make an override to the default allocation for the specific time clock entry, click the Add AllocationAdd Allocation button.
The Allocation DetailsAllocation Details section refreshes displaying current allocations being applied.

6. Use the Hours or PercentHours or Percent radio buttons to allocate hours worked by percentage or by hours.

7. Select the categories (department, location, or other applicable allocation option) to which you would like to allocate hours worked from the categorycategory drop-down boxes.

8. Enter the number of hours (or percentage of hours) to be allocated to the selected categories in the Amount (or Percent)Amount (or Percent) text box.

The Total Allocated and Amount RemainingTotal Allocated and Amount Remaining text boxes update to show how many hours you have allocated by category, and how many hours remain to be allocated.

9. Repeat steps 5 to 8 for all additional hours that you wish to allocate.
Note: Any hours you do not specifically allocate through these steps will be automatically allocated to their default category (department, location, and so on).
10. After allocating hours as necessary, click the SaveSave button.

Result: The hours you edited are allocated to the categories you selected. An allocation icon (![]() ) displays by the time clock entry to show that you have applied cost allocation to the hours.
) displays by the time clock entry to show that you have applied cost allocation to the hours.
Related Help Topics