Employees can use Time Clock Reporting to track/punch all hours worked on the job. At the end of the Pay Period, after manager review and approval, all reported hours will be automatically submitted to payroll.
|
You are an hourly employee and need to clock in and out to record your total hours worked in a day/week. Use the Report Time feature to clock in/out to record the hours you have worked. |
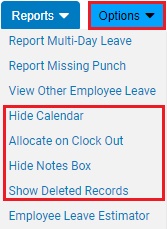
If necessary, adjust time clock reporting options by clicking the OptionsOptions button.
Click the Hide Calendar link to take away the calendar display with all paid holidays and days with hours already worked.
Click the Allocate on Clock Out link to enable cost allocation of your hours when you clock out. If you select this option, you will be prompted to allocate your hours in a pop-up window upon clocking out.
Click the Hide Notes Box link to hide the Notes text box in which you can enter information pertaining to your time entries.
Click the Show Deleted Records link to display time entries that have previously been deleted.
The "Report Hours Worked" approach allows employees to enter the time they clocked in and the time they clocked out. Their hours worked for the day are then determined from these entries.
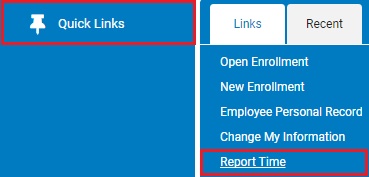
1. On the Menu, click Time and Pay > Report TimeTime and Pay > Report Time.

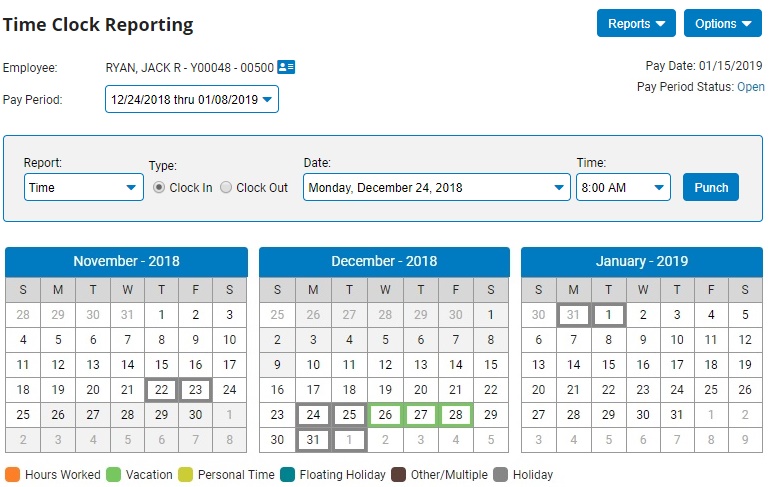
The Time Clock ReportingTime Clock Reporting page displays.
Notes:
2. Choose the appropriate date range in the Pay PeriodPay Period pull-down menu.

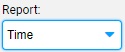
3. On the ReportReport pull-down menu, select Time.
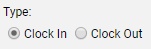
4. If applicable, click the Clock InClock In option as the Type (This section may be omitted, depending on the time reporting settings made available by your employer).
Note: Time Clock entries are punched in pairs - Clock In and Clock Out. An unmatched Clock In entry must exist before a Clock Out entry can be made.
5. In the DateDate pull-down menu, select the appropriate date.

Note: The Date pull-down defaults to the current date.
6. In the TimeTime pull-down menu, select the appropriate time.

Note: The Time pull-down defaults to the current time increment.
7. Depending on the time reporting options made available by your employer, choose the appropriate button to click:
Click the PunchPunch button to record the time clock entry

Click the ININ button (if you are starting your first shift of your work day)

Click the End BreakEnd Break button (if you are returning from your break and you most recently clocked out using the Start Break button)

Note: If Cost Allocation has been enabled for your company, you may be asked to allocate reported hours. Click the See Also button at the bottom of this page for more information.
1. On the Menu, click Time and Pay > Report TimeTime and Pay > Report Time options.
The Time Clock ReportingTime Clock Reporting page displays.
2. Choose the appropriate date range in the Pay PeriodPay Period pull-down menu.
3. On the ReportReport pull-down menu, select Report Time.
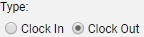
4. If applicable, click the Clock OutClock Out option as the Type (This section may be omitted, depending on the time reporting settings made available by your employer)..
Note: Time Clock entries are punched in pairs - Clock In and Clock Out. An unmatched Clock In entry must exist before a Clock Out entry can be made.
5. In the DateDate pull-down menu, select the appropriate date.
Note: The Date pull-down defaults to the current date.
6. In the TimeTime pull-down menu, select the appropriate time.
Note: The Time pull-down defaults to the current time increment.
7. If necessary, enter any additional details about this time entry in the NotesNotes text box.

8. Depending on the time reporting options made available by your employer, choose the appropriate button to click:
Click the PunchPunch button to record the time clock entry.
Click the OUTOUT button (if you are ending your last shift of your work day)

Click the Start BreakStart Break button (if you are clocking out to start your break time and you most recently clocked in using the IN button)

Notes:
See Also