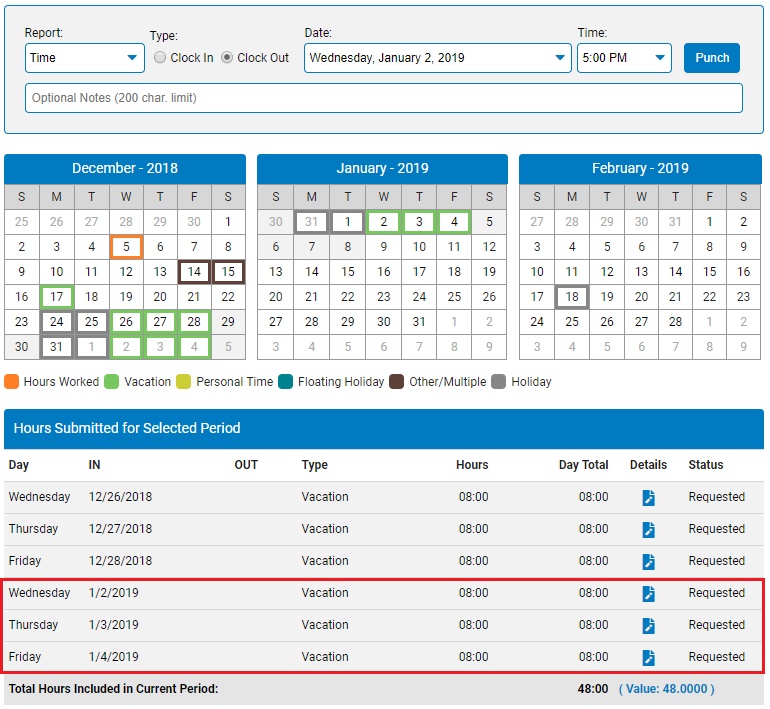
If the segment of leave covers multiple days, you can make a single entry to cover the entire period. The leave statusstatus will change during the pay period as your leave is reviewed by your manager.
Requested: You requested leave in ExponentHR. Your manager’s review and approval is pending.
Approved: Your manager reviewed and approved your request. No further action is needed.
Rejected: Your manager reviewed and rejected your request. Accompanying notes will detail why your manager rejected it. You may delete the request after it is rejected. If you do not delete it, ExponentHR deletes it automatically at the end of the applicable payroll period.
Mgmt Entry: Your manager reported leave on your behalf in ExponentHR. This bypasses the approval process. No further action is needed.
Late Entry: You reported leave for a past date in ExponentHR. This bypasses the approval process. Your manager will review the leave you reported at the end of the current pay period.
Auto-Approved: Your manager did not act on the leave you requested by the end of the applicable pay period (it was not Approved or Rejected). As a result, the ExponentHR system changed the leave status from Requested to Auto-Approved and will export the time to payroll.
You
are wanting to take a full week of vacation. Rather than
making each time off request separately, you would like to request
the full week off in one step. Use the Report Multi Day
Leave option to request time off for more than one day at a time. |
To report multi-day leave:
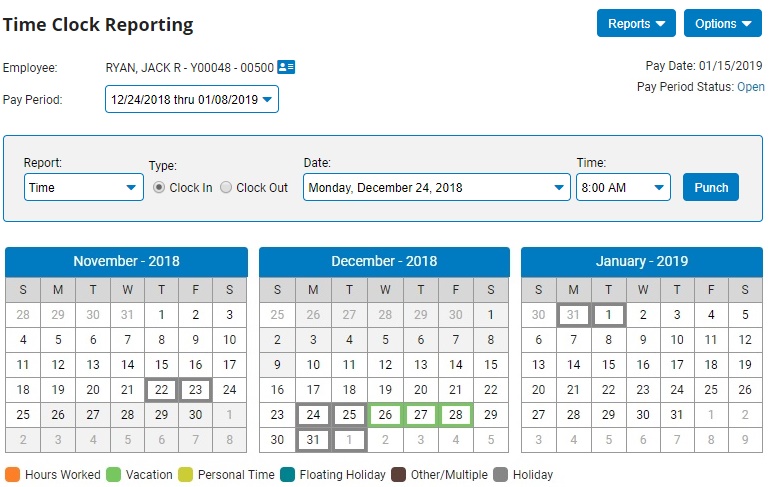
1. On the Menu, click Time and Pay > Report TimeTime and Pay > Report Time.

The Time Clock Reporting pageTime Clock Reporting page displays.
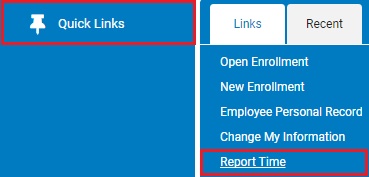
Note: You can also access the Time Clock Reporting page from the Menu by clicking Quick Links > Report TimeQuick Links > Report Time.
2. Click Options > Report Multi-Day LeaveOptions > Report Multi-Day Leave.
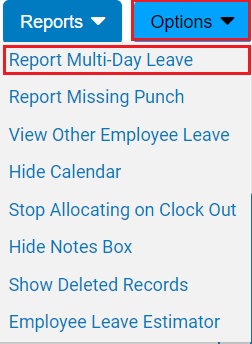
The Report Multi-Day LeaveReport Multi-Day Leave page displays.
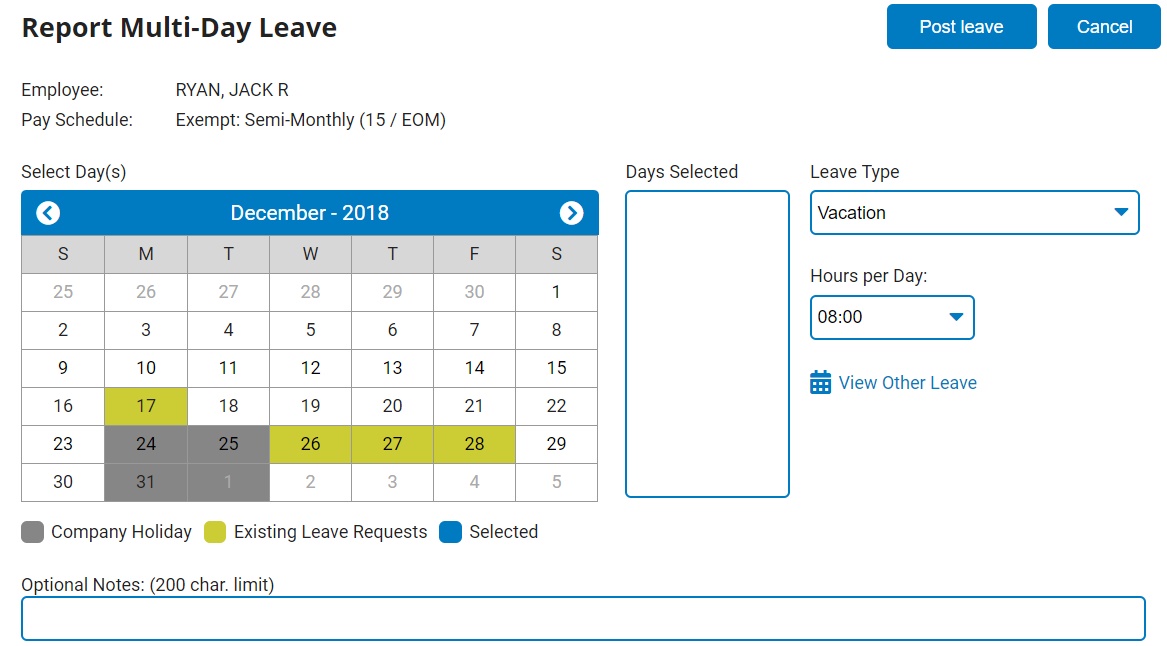
3. Using the calendar, click on each day where leave will be reported. As you click on days, they will appear in the Days SelectedDays Selected box.
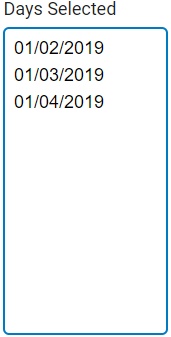
Note: To remove a selected day, double-click the day in the Days Selected box.
4. Click the Leave TypeLeave Type pull-down menu and select the appropriate leave type to report.

5. Use the Hours per DayHours per Day pull down menu to select appropriate number of hours (and minutes) to report for each of the days selected.

Example: If you select five days in the calendar and report 8 hours per day, the system will record a total of 40 hours of paid leave.
6. If necessary, enter any additional details about the leave entry in the Optional NotesOptional Notes text box.

7. Click the Post LeavePost Leave button.

Result: The selected days appear on both the calendar and the Hours Submitted for Selected Pay Periods tableHours Submitted for Selected Pay Periods table.
