
ExponentHR includes functionality to request and report leave (time-off) hours, such as vacation time.
|
Your family is planning a long weekend a month from now, and you want to be sure you can take a day of leave at that time. Submit the request to your manager to see if she will approve it. |
Leave statusstatus will change during the pay period as your leave is reviewed by your manager. However, at the end of the Pay Period, all reported leave will be automatically submitted to payroll whether it has been approved by your manager or not.
Requested: You requested leave in ExponentHR. Your manager’s review and approval is pending.
Approved: Your manager reviewed and approved your request. No further action is needed.
Rejected: Your manager reviewed and rejected your request. Accompanying notes will detail why your manager rejected it. You may delete the request after it is rejected. If you do not delete it, ExponentHR deletes it automatically at the end of the applicable payroll period.
Late Entry: You reported leave for a past date in ExponentHR. This bypasses the approval process. Your manager will review the leave you reported at the end of the current pay period.
Mgmt Entry: Your manager reported leave on your behalf in ExponentHR. This bypasses the approval process. No further action is needed.
Auto-Approved: Your manager did not act on the leave you requested by the end of the applicable pay period (it was not Approved or Rejected). As a result, the ExponentHR system changed the leave status from Requested to Auto-Approved and will export the time to payroll.
To report leave:
1. On the Menu, click Time and Pay > Report TimeTime and Pay > Report Time.

The Time Clock ReportingTime Clock Reporting page displays.
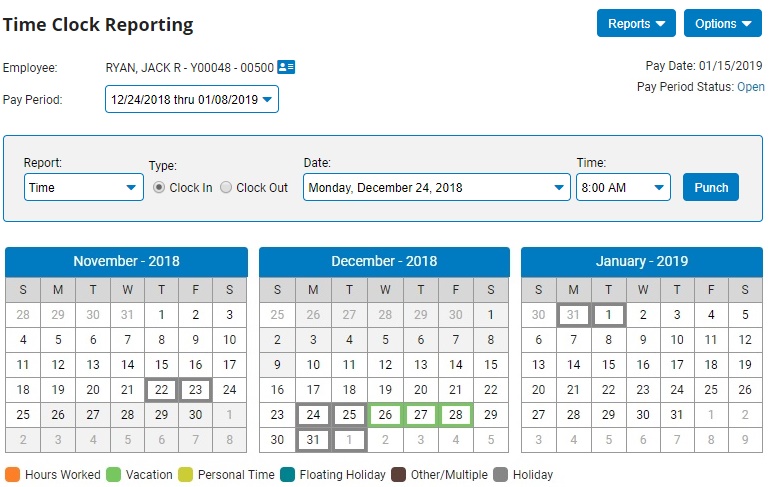
Notes:
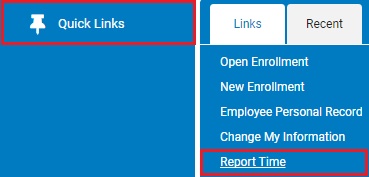
2. If necessary, adjust time clock reporting options by clicking the OptionsOptions button.
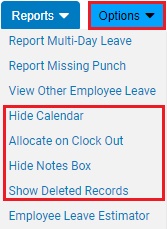
3. Using the calendars, select the day affected by leave.
Note: Leave can be reported up to 12 months in the future. If the designated leave date is not listed on the calendar, first choose the appropriate date range in the Pay PeriodPay Period pull-down menu.

4. In the ReportReport pull-down menu, select Leave.
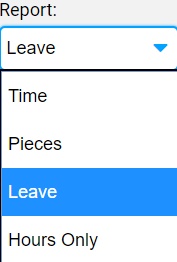
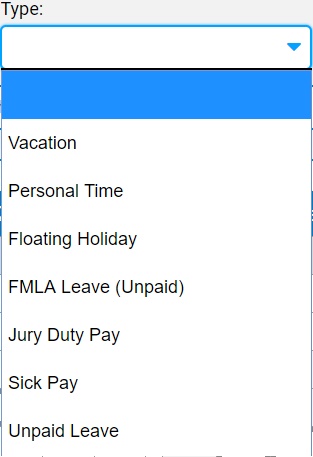
5. In the TypeType pull-down menu, the appropriate leave type.
6. Verify that the entered time (if applicable) are correct for the duration of leave for the selected date.
Note: Refer to your company's policy regarding proper increments that you can charge to each leave type.
7. If necessary, enter any additional details about this leave entry in the NotesNotes text box.

8. Click the SubmitSubmit button to request/record the leave.

The entry appears on the Time Clock Reporting calendar. You will receive a Paid Leave Approval notice in your Message Center (and email) with a link that lets you copy the paid leave into your personal calendar (such as in Microsoft Outlook calendar).
See Also