This report provides detailed information on both enrollment and eligibility for benefit plans. You may use the enrollment results to reconcile provider statements or to create self-billings. The eligibility option provides information on all employees eligible for a plan, regardless of whether or not the employee is actually enrolled in the plan at the specified time period.
To run this report:
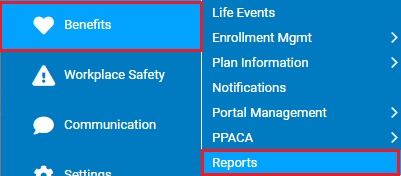
1. On the Menu, click Benefits > ReportsBenefits > Reports.

The ReportsReports menu will display.
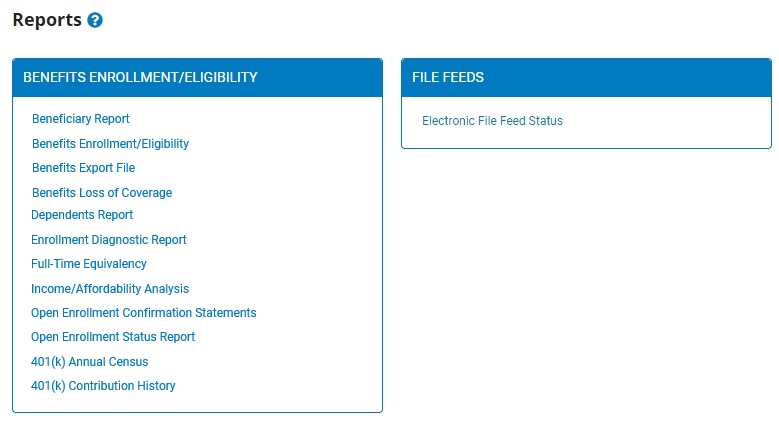
2. Click the Benefits Enrollment/EligibilityBenefits Enrollment/Eligibility link.
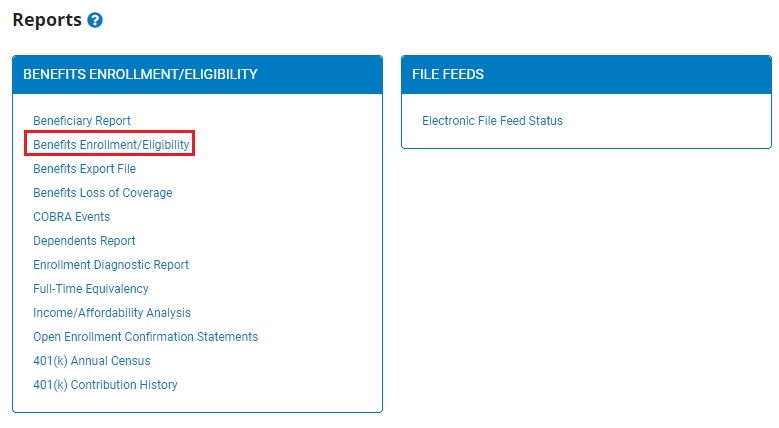
The Benefits Enrollment/EligibilityBenefits Enrollment/Eligibility page displays.
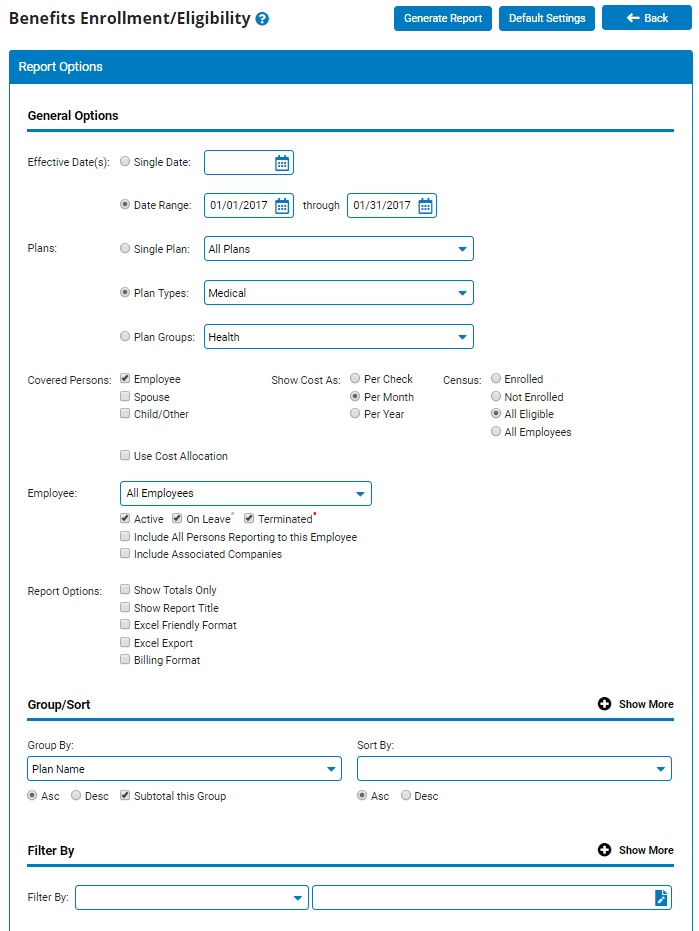
3. Enter the Effective Date(s) for the specified time period in which you would like to view information on employee enrollment and eligibility for benefits plans in the Effective DateEffective Date fields.

Notes:
Select the Single Date radio button to view a report for a given date, or the Date Range radio button to view a report covering a specific time period.
You may also click the CalendarCalendar button to select the dates from a calendar.

4. Select the type of plan on which you want to run the report by selecting the Single Plan, Plan Types, or Plan GroupsSingle Plan, Plan Types, or Plan Groups radio button, then select a plan type from the applicable drop-down box.

Only plans of the type you selected will be included in the report.
Notes:
Select the Single Plan radio button and choose the All Plans options to run a report including all plans available to your company.
Select the Single Plan radio button and a specific plan name to limit your report to that plan only (for example, Blue Cross).
Select the Plan Types radio button and a type of plan to limit your report to plan of that type only (for example, medical plans or dental plans). This option is useful if your company offers employees a choice between plans in each category.
Select the Plan Groups radio button to limit your report to Health, Life, or FSA/HSA plans.
5. Check the appropriate Covered PersonsCovered Persons checkboxes to limit your report to employee, spouse, and/or other dependents (you may check more than one box).

6. Select a Show Cost AsShow Cost As radio button to report the cost of the plan to the employee per check, per month or per year.

7. Select a CensusCensus radio button to generate a report for all employees enrolled in plans (Enrolled), all employees not enrolled (Not Enrolled), all employees eligible for plans (All Eligible) or all employees at your company (All Employees).

8. If necessary, select a specific employee from the EmployeeEmployee drop-down box to view an enrollment/eligibility report for that employee only.

Note: Leave the field set to All Employees to view a report including all employees at your company.
9. To format the report by grouping, sorting, or filtering the results, see the Related Help Topics.
10. If necessary, select additional display options for the report from the Report Options checkboxes.
Notes:
Checking the Show Totals Only checkbox will only provide applicable subtotal and total results within each designated grouping in the report.
Checking the Show Report Title checkbox will include the report's title in the report.
Checking the Excel Friendly Format checkbox formats report results to allow for a "cut and paste" transfer to an Excel form. This option will suppress Groups and Subtotals unless the Show Totals Only checkbox is also selected.
Checking the Excel Export checkbox will export the report directly as an Excel file.
Checking the Billing Format checkbox will format the report for use with billing.
11. If necessary, designate the optional fields you would like included in the report by checking the checkbox by each optional field in the Additional FieldsAdditional Fields section of the report.
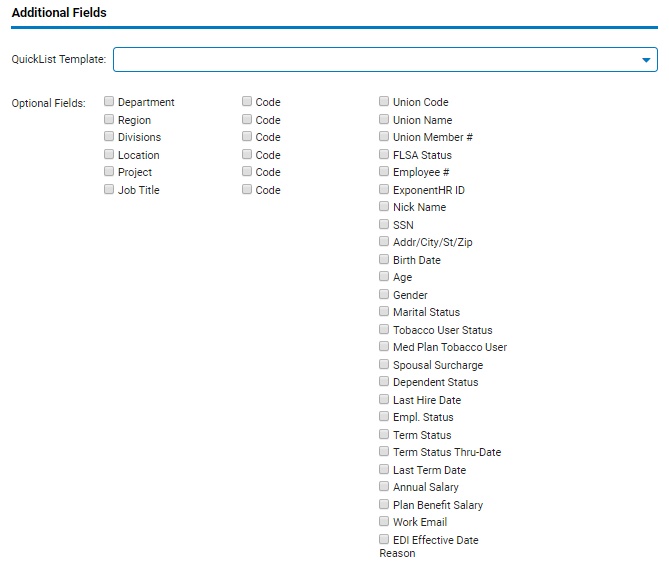
Checking the Optional Fields check boxes will add/suppress additional columns from the formatted results.
Note: If you check the Department, Location, Job Title, or Union Name checkboxes, you may also check the Code checkbox to the right of each checkbox to include the code for each department, location, or job title in the report.
12. Click the Generate ReportGenerate Report button.

Result: The report you selected displays in a new window with the options you selected.
Notes:
You may print the report by clicking the PrintPrint button.

You may close the report by clicking the CloseClose button.

Related Help Topics: