If you receive a garnishment order for an employee in bankruptcy, you can set up a garnishment for the employee such that a specific amount is deducted from the employee's paycheck and remitted to the garnishing authority, such as a Chapter 13 Trustee office.
To set up a bankruptcy garnishment for an employee:
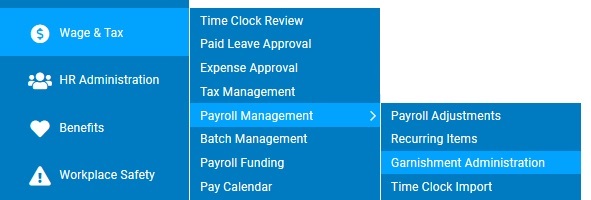
1. On the Management Navigation Menu, click Wage & Tax > Payroll Management > Garnishment AdministrationWage & Tax > Payroll Management > Garnishment Administration.
The Garnishment AdministrationGarnishment Administration page displays.
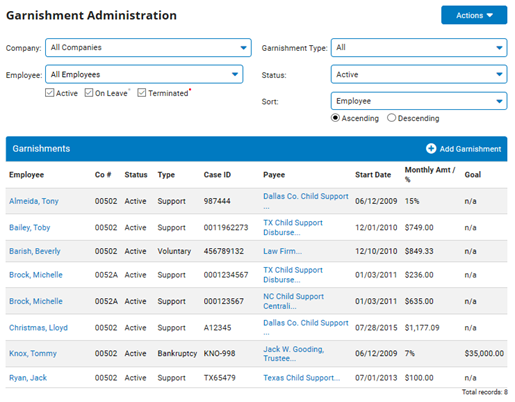
2. Click the Add Garnishment button.
The Add GarnishmentAdd Garnishment page displays.
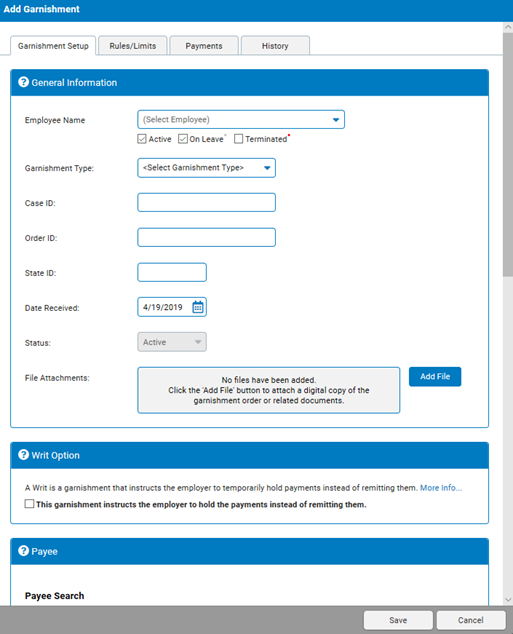
3. In the General Information section, select the employee from the Employee Name drop-down list.
4. Select Bankruptcy as the Garnishment Type.
5. Type the garnishment identification number(s) for the Case ID, per the state requirement.
Note: This could be referred to as the remittance identifier, case number, cause number, etc. in the order. To enter more than one number, separate them with a space.
6. Type the date the garnishment order was received in Date Received.
Note: This is for reference only, so you could leave it set to today's date.
7. Click the Add File button to upload a digital copy of the garnishment order, or other related documents.
Note: You can attach up to five files of 5 MB each.
8. In the Payee section, type the zip code of the address where the payment should be sent and click Search for Payee. Select the payee from the Search Results.
Notes:
If you cannot find the payee in the list of stored payees for this zip code, click the Add New Payee button. See the Related Help Topic.
You must select a payee, even if the payment is remitted via ACH.
9. In the Payment and Goal Information section, select the Calculation method (if it is a flat dollar amount or a percentage).
10. For flat dollar amounts, type the amount and select the frequency.
Notes:
Deductions are taken each pay period. The system automatically converts a monthly amount into a per-paycheck amount based on the employee's pay frequency. If the employee's pay frequency changes, the amount is automatically recalculated. Therefore, no changes are needed unless the garnishment amount changes.
If the order contains both a per month amount and a per pay period amount, enter the amount per pay period to ensure the calculations match.
If a flat amount deduction results in the employee having negative net pay in a payroll batch, the batch is rejected. You must perform a payment override to reduce the amount being deducted. See the Related Help Topic.
For percentages, type the percentage and type the dollar amount of any Per Check Cap.
Note: You can specify which deductions the system will take before it applies the garnishment percentage calculation. To do this, click the Rules/Limits tab and move selected deductions to the Excluded from % Calculation list. (However, this may put the garnishment out of compliance with the order.)
11. To indicate when the garnishment should end:
Enter a Goal Amount.
Enter a Stop Date.
Leave Goal and Stop Date blank and select the No Stop Date check box. When you receive a release order from the garnishing authority, you can enter a stop date at that time to change the status to Completed.
Note: If you enter both a goal amount and a stop date, the garnishment will complete whenever either the goal amount or stop date is reached (whichever comes first).
12. Change the Start Date to a date in the future, if necessary.
13. If the employee's supplemental wages (bonus, off-cycle, etc.) should be garnished in addition to regular pay, select Yes from the Apply to Supplemental Checks drop-down box.
14. In the Additional Information section, type any additional information that should be printed on the garnishment check stub per the garnishment order.
Note: This is not applicable for any payments set up as ACH by ExponentHR.
15. In the Garnishment Fees section, select if there are any additional fees that must be paid to the employer or garnishing authority.
Employer Processing Fee: Optional field to be used when the employer desires recompense for internal administrative burden for processing the garnishment order. To use, enter in a per paycheck amount to be deducted from the employee's check. The amount withheld will be retained by the employer reducing the total funding amount for the payroll voucher.
Garnishment Authority Fee: To be used when directed within the garnishment order to have an additional fee withheld to be paid to the garnishing authority.
To Include with Garnishment, type the amount to be included.
To send As Separate Payment, type the amount, select the pay frequency, enter the start and stop dates, and select the payee.
16. Click the Rules/Limits tab to review the rules and limits stored for this type of order in the applicable state (based on the employee's resident state).
The Rules/LimitsRules/Limits tab displays.
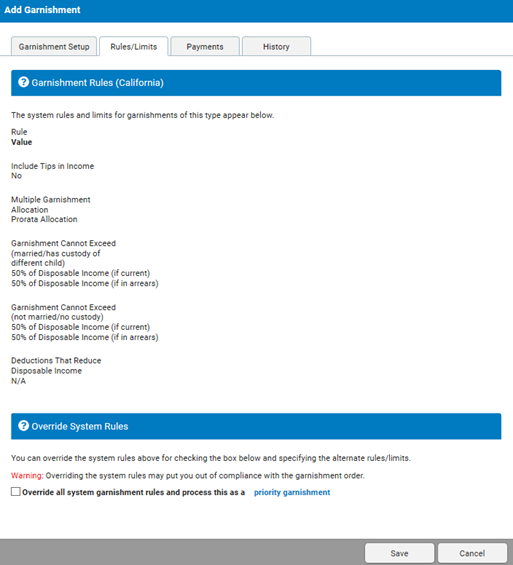
Overriding garnishment rulesOverriding garnishment rules
Note: Overriding the system rules may put you out of compliance with the garnishment order.
1. Select the check box to designate the garnishment as a priority garnishment and override the system rules shown above it.
2. Select the order in which you want to process the garnishment relative to other "priority" garnishments in the Processing Order drop-down box.
3. Type a percentage in the Garnishment Cannot Exceed text box and select if it is net pay or starting net. If there is no limit, do not enter a percentage.
17. Click the Save button.
Related Help Topics
Creating Garnishment Payment Overrides
Making Garnishment Payment Adjustments