This utility assigns automatic email notifications to specific individuals within your organization upon execution of specific events in the system, such as approving an eAction Notice (EAN). ExponentHR comes loaded with a preset list of Event-Driven Notifications, but you can edit them to change the text in the template. You can also inactivate them or specify different recipients (for all EAN and Incident Tracking notifications).
|
When you hire a new employee in your organization, there may be several individuals that need to be contacted so that the employee will be set up appropriately for their first day (for example, the IT department will need to prepare an office computer, email address, etc.). By setting up a notification based on the approval of a New Hire EAN, you will be able to alert the appropriate individuals automatically. |
To view a list of Event-Driven Notifications that are already set up in ExponentHR:
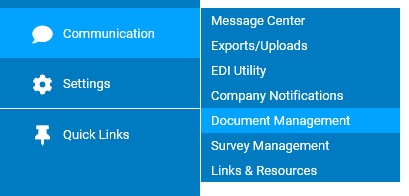
1. On the Management Navigation Menu, click Communication > Company NotificationsCommunication > Company Notifications
The Company NotificationsCompany Notifications page displays.
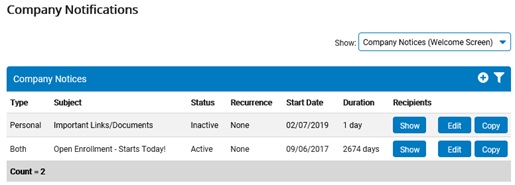
2. Select Event-Driven Notifications in the Show drop-down box.
The Event-Driven NotificationsEvent-Driven Notifications section displays, with a list of all Event-Driven Notifications that have been set up.
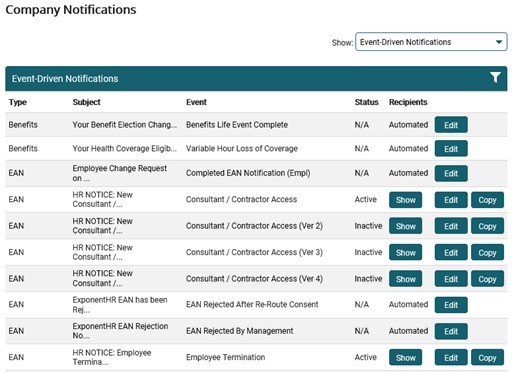
Note: For all non-EAN notifications (such as a Paid Leave Approval Notice), recipients are automated (predetermined based on the event; you cannot specify other recipients) and the status is N/A (always active).
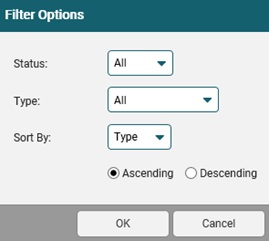
3. Click the Filter icon to change the settings in the Filter OptionsFilter Options section to filter the list, as necessary.
Changing the Display OptionsChanging the Display Options
1. Click a status in the Status drop-down box.
|
Status |
Shows |
|
All |
All Event-Driven Notifications that have ever been set up |
|
Active |
Event-Driven Notifications that are currently set to be sent based on a specific event |
|
Inactive |
Event-Driven Notifications that have been set to inactive |
2. Click a type in the Type drop-down box to see the notices related the a specific area.
3. Select the column you want to sort by and whether it is in ascending or descending order.
4. Click the Show button in the row of the Event-Driven Notification for which you want to see a list of recipients.
The Current Recipient ListCurrent Recipient List page displays, with the name, email address, job title, location, department, division, and status of each employee who receives the notice.
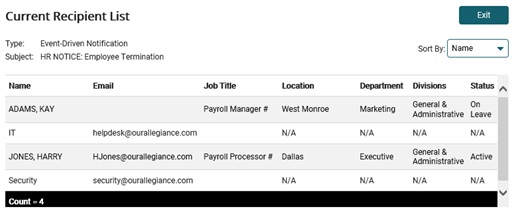
Note: If the Show button is gray, no recipients have been defined for the Event-Driven notification.
Related Help Topics:
Editing Event-Driven Notifications
Copying Event-Driven Notifications
Deleting Event-Driven Notifications