![]()
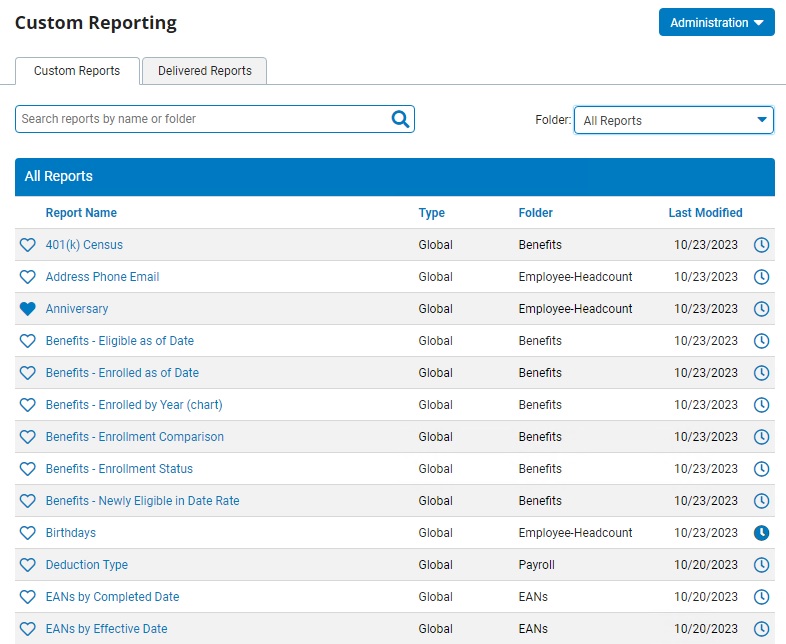
Located within the Custom Reporting utility are all the reports that have been specifically created for your organization as well as some pre-built global reports that have been added by ExponentHR for your reporting convenience. Using the onscreen search feature, users may refine the displayed list of reports to only show those that contain specific text in the report title and/or folder name. The folder drop-down list also provides the ability to see all reports that are contained within a particular folder.
To further customize how the available reports are organized, administrators of the utility may re-organize the reporting library by:
Note: If a new report needs to be created, please contact the ExponentHR Enterprise Services Team (support@exponenthr.com) with the specifics of the new report. Prior to the newly created report becoming accessible, a Reporting Administrator within your organization will first need to move the report to the desired folder within the utility and permissions should be assigned as needed (based on the report's content). Both of these actions may be completed through the Administration drop-down menu in the Custom Reporting utility. For convenience, an informational iconinformational icon displays next to the utility's title when a newly created report is ready to be assigned to a folder.
![]()
To organize Custom Reporting library:
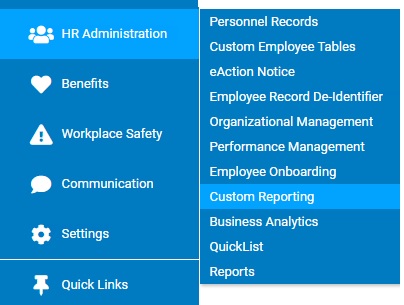
1. On the Management Navigation Menu, click HR Administration > Custom ReportingHR Administration > Custom Reporting.
The Custom Reporting utilityCustom Reporting utility will display with all the reports that have been made available to you.
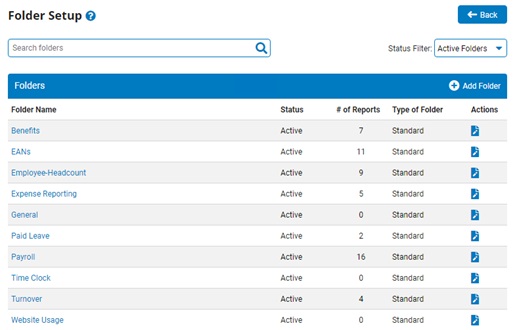
2. In the Administration drop-down menu, select the Folder Setup option.
The Folder SetupFolder Setup page displays.
3. Select the desired action to take:
To add a new folderTo add a new folder
1. Click the Add Folder option.
The Add FolderAdd Folder prompt displays.
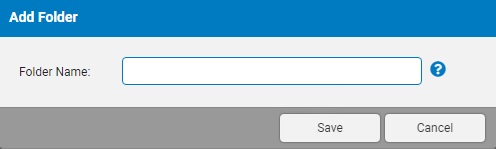
2. Enter the name for the new folder in the Folder Name field.
3. Click the Save button.
Result: The newly created folder is added to the list of folders as a "Custom" folder and is available for selection when moving reports to a new folder.
To edit the name/status of a folderTo edit the name/status of a folder
1. Click the edit icon (![]() ) next to the respective folder.
) next to the respective folder.
The Edit FolderEdit Folder page displays.
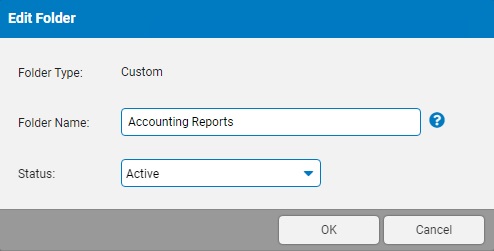
2. If the folder is a "Custom" folder (created by your organization), you can update the name of the folder in the Folder Name field.
3. If the folder and the reports within the folder are no longer needed, use the Status field to mark the folder as inactive.
This will result in the folder and all contents of the folder being removed from display in the Custom Reporting utility. Any schedules associated with reports in this folder will also be deleted.
Note: At any time, the status of a folder may be changed back to "Active" to have it and all the reports contained within displayed again.
4. Click the OK button.
To delete an existing folderTo delete an existing folder
1. Click the delete icon (![]() ) next to the folder you want to delete.
) next to the folder you want to delete.
2. Click the OK button to confirm the removal of the folder.
Notes:
To move report(s) to a different folderTo move report(s) to a different folder
1. Click the name of the folder containing the report(s) you want to move.
The View Folder ContentsView Folder Contents page displays.
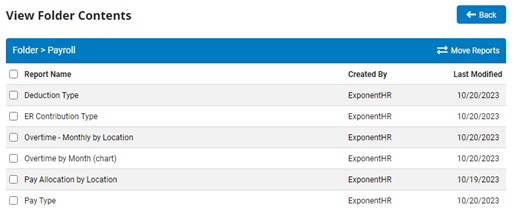
2. Check the box next to each report you would like to move.
3. Click the Move Reports option in the section header.
4. In the drop-down list, choose which folder should now contain the selected reports.
5. Click the Save button.
Related Help Topics:
About Custom Reporting Utility