The Custom Reporting utility offers the added feature to have report results automatically generated on a scheduled basis. Upon each scheduled occurrence, recipients will receive a system-generated notification containing a link to the results that were prepared specifically for them (which are automatically refined to match the user's designated access rights). Using the provided link, the recipient will be presented with the prepared results upon successfully entering their login credentials for authentication.
The report results prepared via a schedule remain accessible for 30 days on the Delivered Reports tab within the Custom Reporting utility. Onscreen filters aid in locating results that were delivered for any report and date within the past 30 days. Administrators have the expanded ability to review results that were delivered to other users with the added option to a) delete the recipient's saved results or b) resend a link to the results via a Message Center notification.
To create/edit a schedule for a report:
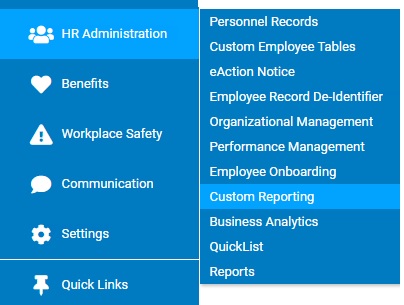
1. On the Management Navigation Menu, click HR Administration > Custom ReportingHR Administration > Custom Reporting.
The Custom Reporting utilityCustom Reporting utility will display with all the reports that have been made available to you listed for selection.
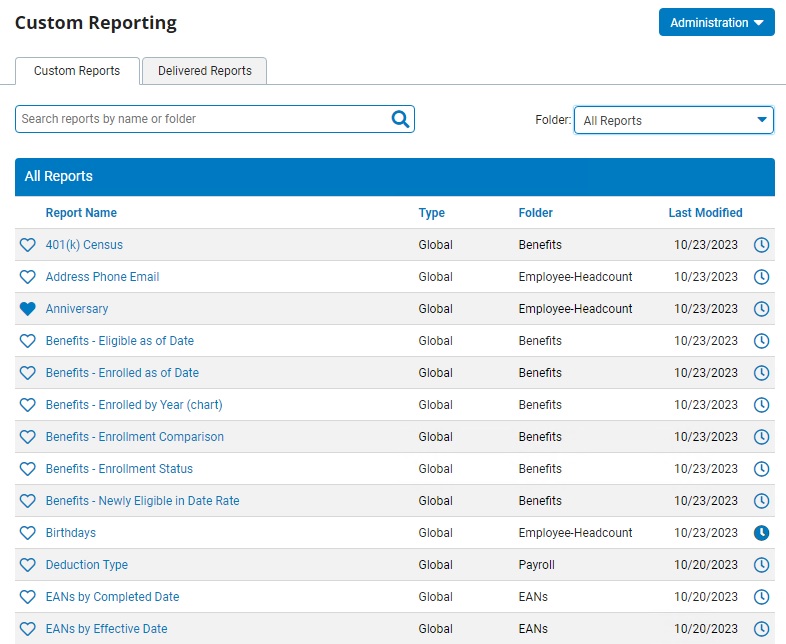
If helpful, use the onscreen search/filter options to easily find the desired report.
2. Click the schedule icon (![]() ) next to the respective report name.
) next to the respective report name.
Note: If the icon is filled-in, at least one schedule already exists for the report.
The Edit SchedulesEdit Schedules page displays in a new tab and displays all existing schedules for the report.
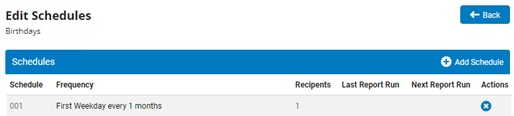
3. Click the appropriate item to: create (Add Schedule), edit (Schedule ID), or delete (![]() ) an existing schedule.
) an existing schedule.
If creating a new schedule or editing one, the Edit Schedules detail page displays
4. In the Report SettingsReport Settings section, define which date range and other parameter settings should be applied each time the report is generated via the schedule.
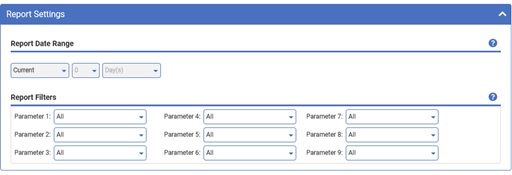
The Report Date Range defines the dynamic period that will be covered in the report each time it is run (if applicable).
The Report Filters displays the filtering options that are presently available when manually generating the report and may be applied (as desired) for the respective schedule.
5. In the Scheduled RecurrenceScheduled Recurrence section, establish the frequency in which the results should be generated.
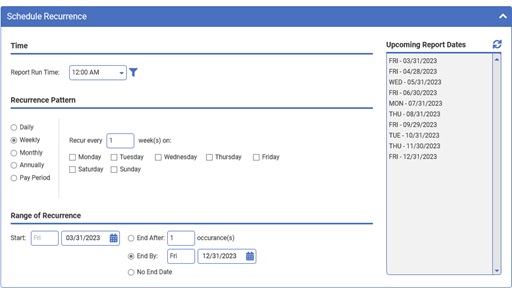
The Time defines at what time of the day the report will start generating (based Central Standard Timezone). For user convenience, the filter icon next to this field provides the option to alter the time increments that are displayed in this drop-down list.
Use the Recurrence Pattern section to designate how frequent a report should be systematically generated.
6. In the Report RecipientsReport Recipients section, select who should receive the generated results per the respective schedule. This may be done by selecting specific management users or based on a dynamic group selection.
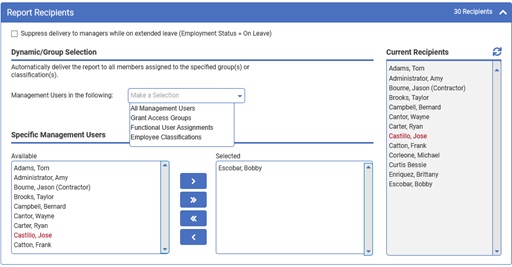
By using the Dynamic/Group Selection, the recipient list will be automatically updated whenever an employee joins/leaves the selected criteria. These criteria can be defined as:
In lieu or addition to the above, the Specific Management Users options provides the ability to manually add any user to the recipient list.
For convenience, the Current Recipients list displays all users who are presently designated as a recipient of the report. By clicking the refresh icon, the list is updated to reflect the addition/omission of any individuals to the schedule based on changes currently being made.
7. Once all changes have been made, click the Save button.
Note: A Change History section in the schedule displays all changes that have been made to the schedule and recipient list.
Related Help Topics:
About Custom Reporting Utility
Organizing Custom Reporting Library